
How RainSpike Works
Water passively after it rains
RainSpike helps your thirstiest plants access water for longer — with no hoses, timers, electricity, pumps, batteries, or apps.
- Catch rain near thirsty plants with a large 10″ collection dish
- Help plants access water for longer using slow-release, porous terracotta clay
- Reduce manual watering between storms by storing rainwater and gradually releasing it into the surrounding soil
- Encourage roots to grow toward a steady water source with water delivered into the root zone
- Blend naturally into gardens, planters, raised beds, and crop fields with earth-toned, natural terracotta clay
- Use with your favorite pot for a clean, intentional look by placing the RainSpike directly beneath or beside it
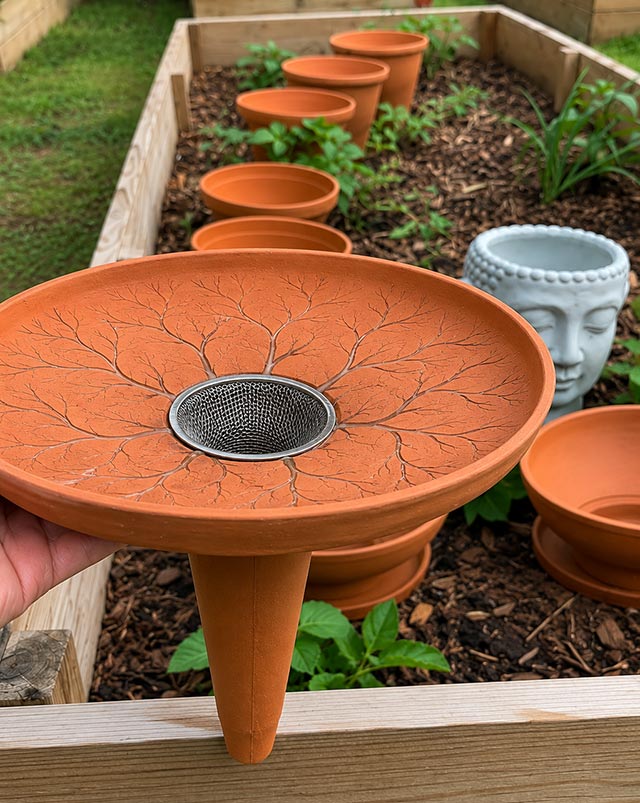
Catch rain above, help plants below
RainSpike uses a simple terracotta dish and tapered spike to turn rainfall into passive irrigation.
The simple version
- Rain lands on the dish
- Water flows into the RainSpike
- Nearby plants grow roots toward the porous clay
The result
- Less watering, less often
- More useful rainfall
- A steadier water source for thirsty plants
- Less irrigation clutter
- A more passive way to grow
Step 1: Catch rain where it falls
The exposed 10-inch dish sits at soil level and helps collect rainwater near your plants.
- Rainwater lands on the wide terracotta dish
- The dish sits flat at the soil surface
- Water naturally runs toward the center opening
- The dish helps make rainfall more useful
- The visible terracotta surface blends into the garden
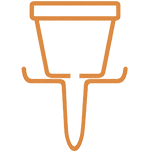
Step 2: Funnel water into the spike
The center opening directs rainwater into the buried RainSpike below.
- Water flows toward the center
- The opening leads into the tapered terracotta spike
- The spike sits below the soil surface
- The setup works passively once filled
- No hoses, timers, pumps, batteries, apps, or electricity required


Step 3: Help plants access water for longer
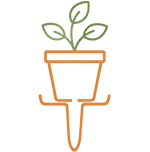
Nearby plants can grow roots toward the porous terracotta and draw from it over time.
- Thirsty plants grow toward the water source
- Porous clay helps nearby soil stay more available to roots
- Plants can keep accessing water after rainfall has passed
- You can water less, less often
- Your garden gets a simple, passive support system
Install RainSpike in minutes
Bury the spike, level the dish, cover the opening, and let rain do more of the work.
1. Choose a thirsty plant or planting area
Start where passive watering would help most:
- A plant that dries out quickly
- A raised bed
- A large planter
- A container garden
- A sunny garden edge
- A crop row or growing area
- A plant you constantly remember to water too late
2. Bury the tapered spike
- Dig a hole for the spike
- Place the spike below the soil surface
- Avoid forcing terracotta into hard or compacted soil
- Backfill gently to hold RainSpike steady
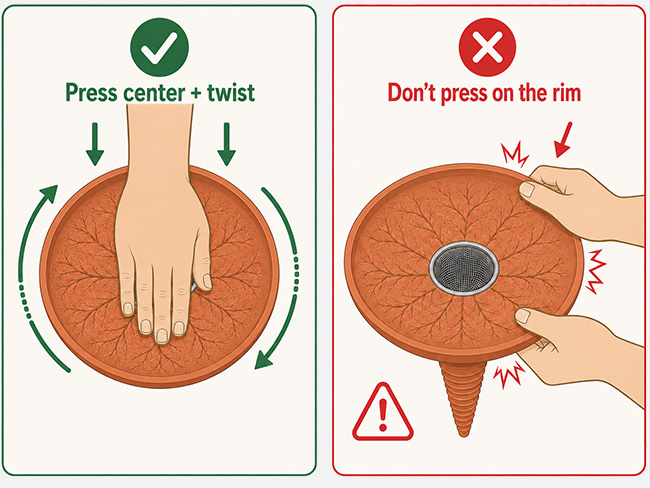
3. Keep the dish level with the soil
- The dish should sit flat
- The center opening should remain accessible
- Rainwater should be able to flow inward
- Nearby roots should be able to grow toward the spike
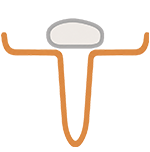
4. Cover the center opening
- Use a pot
- Use rocks
- Use mulch
- Use a potted plant
- Use a decorative garden object
- Use a small planter that helps funnel rain

5. Watch, refill, and adjust
- Check nearby plants
- Refill manually during dry weather
- Notice where plants respond best
- Move or add RainSpikes as needed
Cover it with a pot you already love
Our favorite method is placing a terracotta pot over the RainSpike opening.
- The pot covers the center opening
- Rainwater can still flow through the drainage hole
- The setup looks cohesive and intentional
- The pot can hold rocks, decorative material, soil, or a shallow-rooted plant
- The cover helps reduce evaporation, debris, and visual clutter
Placement Tip
Place RainSpikes in groups and gradients
RainSpikes work best when you group 2 or 3 tightly, then space additional RainSpikes outward.
Start near the thirstiest area
Watch how your plants respond, then adjust the spacing over time.
Create your watering gradient
- Group 2 or 3 RainSpikes tightly near your thirstiest area
- Place additional RainSpikes farther out at slightly increasing distances
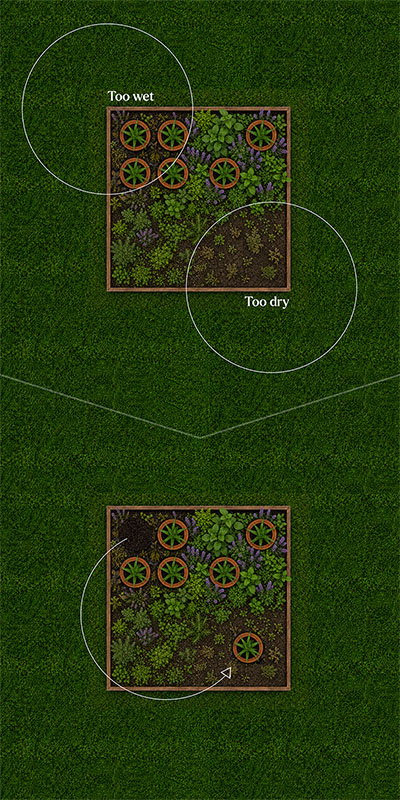
- Create a watering gradient so plants can show you what they prefer
- Watch whether plants perform better closer to or farther from the group
- Move RainSpikes easily if less concentrated areas perform better
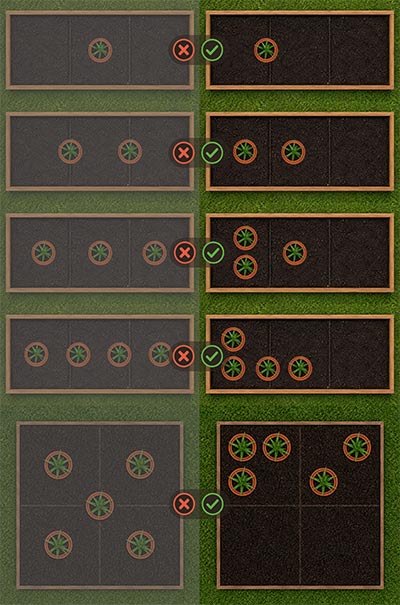
It is difficult to estimate a plant’s exact water needs before seeing how it responds.
That is why we recommend creating a gradient:
- Start with 2 or 3 RainSpikes close together
- Add more RainSpikes slightly farther away
- Monitor plant growth, leaf health, and soil moisture
- Adjust placement as your plants respond
Because RainSpike is designed as a tapered spike, it is easy to remove and relocate as your garden changes.
Buy with clear expectation
RainSpike helps reduce watering effort, but your plants still depend on weather, soil, and care.
- RainSpike is not a magic “never water again” device
- Refill frequency varies by plant, soil, season, rainfall, and sun exposure
- Very sandy soil may drain quickly
- Very compacted soil may limit moisture movement
- Hard water may leave mineral buildup over time
- Freezing conditions may require seasonal care